Which Sewing Machine Handles Hat Shapes, Leather, and Patches Best
For hats, leather, and patches, a post-bed or heavy free-arm machine with compound or walking feed and leather-needle support gives you the best control on curves and thick spots.
On this page (7 sections)
Part of our guide on beginner sewing machine
Key figures
- Needle system
- Use leather system listed in manual; size depends on leather weight
- Best bed shape for hats
- Post-bed for closed crowns; heavy free-arm as hobby alternative
- Feed to look for
- Compound, needle, or walking feed for thick or slick stacks
- Clearance
- Varies by model; check post height and throat depth on spec sheet
- Patch capacity
- Depends on leather weight, layers, and feed; test your stack-up
The short version
- Post-bed shape lets you rotate a hat around the needle instead of flattening it.
- Feed type matters more than raw power for thick stacks and curves.
- Match needle and thread to leather weight and test on scrap first.
- Use simple stitches for structure; save decorative stitches for flat panels.
- If you cannot buy a post-bed, a heavy free-arm with walking foot can cover hobby use.
Machines: why post-bed helps with hats
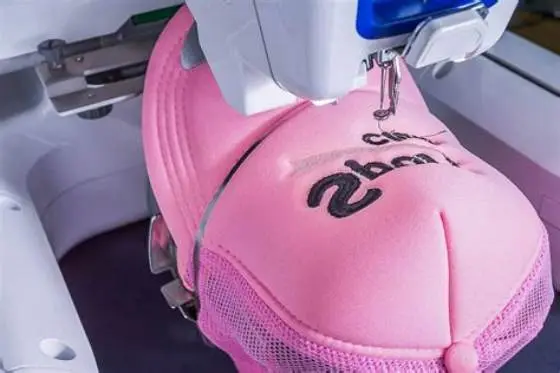
A post-bed puts the needle on a raised column, so you can slip a hat over it. That shape lets you turn the crown as you sew, instead of bunching fabric flat. Check the spec sheet for post height and throat depth, since clearance varies by model.
A flat-bed forces you to fold or crush the hat to get under the foot. You can still sew an unstructured dad hat that way, but a structured baseball cap with buckram fights you. A cowboy hat brim or a padded crown also needs more room to move.
Feed type decides how well layers move together on curves. Compound feed and needle feed pull thick stacks without shifting, while a walking foot helps on heavy domestic machines. Drop feed alone often slips on leather or lets patches creep on tight curves.
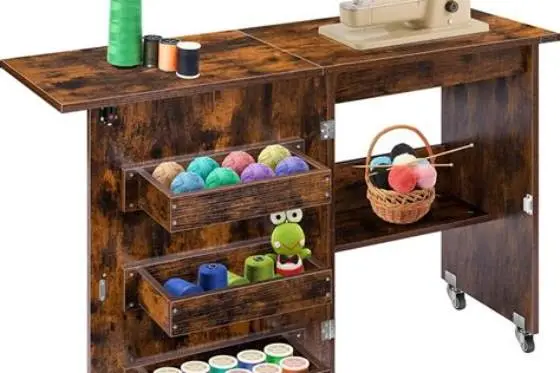
If you want named examples, look at post-bed industrials like the Techsew 5100-SE, Consew CP206RL, and Juki PLC-1710. Each lists post height and throat depth in its manual, so compare those numbers. For hobby use, a heavy free-arm like the Juki TL-2010Q or Sailrite Fabricator with walking foot can handle caps and light leather. People in this spot often ask about best folding sewing machine table as well.
Stitches: which types handle curves on hats
Simple stitches hold curves best, so start with straight and zigzag. Straight gives a clean seam line, and zigzag adds give where a crown bends hard. Keep decorative stitches for flat panels or patch edges, not for tight crown seams.
Stitch length and width depend on material weight and curve radius, so test on scrap. A mid-length straight stitch often feeds smoother than a very short one on thick stacks. A very wide zigzag can perforate thin leather, so try a narrow width first and inspect.
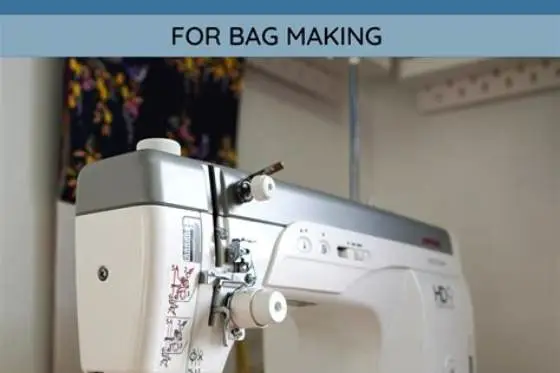
Tension and speed matter as much as stitch choice on hats. Sew slow, keep medium tension, and watch for puckering on the outside of the curve. If you see loops underneath, rethread and test again before you sew the hat. The other half of this decision is best sewing machine for bag making.
Stitch count is simple math, but treat it as an estimate. More stitches per inch add flexibility yet also add holes in leather. Try two or three lengths on the same curve scrap, then pick the one that looks smooth without weakening the material.
- Straight for main crown seams and patch edges
- Zigzag where you need a bit of give on curves
- Test length and width on scrap that matches your hat
Leather and patches: how to sew them on hats
Match the needle system to your machine manual, then pick size by leather weight. Light garment leather often takes a smaller leather needle, while chap or bridle weight needs a larger one. If the manual lists 90/14 to 110/18 as options, start in the middle and test.
Use heavy-duty polyester or nylon thread that your machine tensions well. Lighter thread breaks on thick stacks, and very heavy thread can jam a small bobbin case. Lower presser foot pressure a touch if your machine allows, so leather does not stick or shine. Before you commit to anything, it is worth looking at best sewing machine for swimwear.
Prep the patch so it cannot shift mid-curve. Trim edges clean, hold with double-sided tape or a light glue stick, and clip bulk at corners. A roller foot or walking foot helps the patch feed without dragging, and a non-stick foot helps on coated caps.
Sew slow and steer the hat, not the needle. Let the feed pull, keep your hands light, and stop with the needle down to pivot. That keeps the curve smooth and protects the needle from side load.
- Check manual for needle system and install a fresh leather needle matched to weight.
- Wind bobbin with the same thread and test tension on scrap leather.
- Tape or glue patch in place and set a mid-length straight stitch.
- Reduce foot pressure a bit if your machine allows.
- Sew slow, pivot with needle down, and inspect each curve.
Embroidery: when it adds value on hats
Embroidery helps when you want a logo, name, or small motif on the front panel. A cap hoop holds the curve steady, and a stabilizer keeps knit or twill from puckering. Without both, designs wave or sink into the fabric.
For structure, you still need good seams first. Embroider flat panels before you close the crown when you can. If you must embroider a finished cap, use the correct hoop and slow the speed.
You do not need embroidery for patches or leather hats. A solid straight or zigzag seam often looks cleaner and lasts longer. Choose embroidery only if the design calls for it and your machine supports cap hooping.
Buying: which machine fits hats, leather and patches
Start with the hat you sew most. A structured baseball cap, an unstructured dad hat, and a cowboy hat each stress the machine in a different way. Stiff buckram and thick seams need more feed help than soft cotton.
Expect an industrial post-bed to cost about $1,200 to $2,500 new, with used units lower if serviced. It has a larger footprint and a steeper learning curve, plus it needs a table and good lighting. A heavy free-arm domestic runs about $400 to $900, fits a small space, and feels familiar if you already sew.
If you cannot buy a post-bed, you still have options. Use a heavy free-arm with a walking foot, hand-crank the tightest curves, or sew patches flat before you shape the crown. Hand sewing with a harness needle also works for one-off leather patches.
Before you buy, run a test protocol on scrap that matches your real hat. Sew a 6-inch curve, a patch corner, and a seam crossing. Watch for skipped stitches, uneven length, thread nests, or a needle that deflects. Skips often mean the needle is wrong for the weight or the feed cannot hold the stack, so stop and change one thing at a time.
| Feature | Post-bed industrial | Heavy flat-bed or free-arm domestic |
|---|---|---|
| Access to closed crowns | Post lets you rotate the hat around the needle | You must fold or flatten the hat to fit |
| Feed for thick stacks | Often compound or needle feed for thick layers | Often drop feed; walking foot helps but has limits |
| Needle and thread range | Wider range per manual; check spec sheet | Narrower range; check manual for max size |
| Best use case | Frequent hats, leather, and patches | Occasional hats and light patches |
| Trade-offs | Larger size, higher price, learning curve | Smaller size, lower price, less clearance |
- Rotates hats without crushing the crown
- Feeds thick and slick stacks more evenly
- Supports leather needle systems per manual
- Needs floor space and a table
- Costs more than a domestic machine
- Takes practice to steer curves smooth
Pick a post-bed with compound or walking feed if you sew hats often; otherwise a heavy free-arm with walking foot and the right leather needle can handle occasional hats and patches.
Still wondering?
Can I sew a hat on a regular sewing machine?
You can, but closed crowns are hard to turn flat. A heavy free-arm with a walking foot helps for occasional hats; a post-bed is easier if you sew hats often.
What needle size is best for leather on hats?
Use the leather needle system your manual lists and match size to weight. Start with a mid size, test on scrap, and move up or down based on holes and skips.
Do I need embroidery features for making hats?
No. Embroidery is for logos and motifs. For seams and patches, straight and zigzag with good feed matter more.
How do I avoid skipped stitches on thick leather patches?
Try a fresh leather needle matched to weight, slow down, and reduce foot pressure a bit. If skips continue, your feed may not suit that stack: test a thinner stack or a different foot.
Can I sew multiple leather layers on a flat-bed machine?
It depends on weight, finish, and feed. Test your exact stack on scrap and check the manual for max needle and thread. If the machine strains or skips, stop and use a machine rated for that work.